n the day and age of smartphones with increasingly impressive camera capabilities and a requirement to have at least one online sales channel to compete, there’s no shortage of advice on the topic of product photography techniques. From phone and micro-studio manufacturers through to professional photographers, software vendors and cheap outsourced editing service providers, the market has identified product photos as a growth area and are jumping on-board. And considering that 93% of consumers consider visual appearance to be the key consideration in a purchasing decision, there’s simply no option not to participate.
While online marketplaces like Amazon and eBay provide specifications for product photos that are relatively easily to comply with, there still remains a vast gap between a photo that’s compliant and a photo that differentiates. Using a phone and a micro-studio to get a consistent white background is fine if you want your product photos to look the same as every other product photo on the internet. But if you want your photos to pop, grab attention, reveal product features and communicate brand, then you need to think differently. And by differently, we don’t mean copying the hundreds of thousands of Insta influencers who just want free stuff.
Don’t get us wrong – we’re not saying that a product photo on a white background doesn’t have an important place, but the challenge is how to get it to jump out at your audience. The gold standard in product photography can be seen by opening up any given fashion magazine, but high-end fashion photographers, locations, models and extensive post-production can end up costing many tens of thousands of dollars for a finished product. While this is at the extreme other end from your home-based eCommerce store operator with an iPhone, seeking to emulate this look as much as possible can make your product photos stand out.

These 5 product photography techniques will help you get on your way to getting eCommerce photos that really grab your audience’s attention.
Understand the Purpose.
Just like any marketing funnel, product photographs are used to draw the customer through a process to make a purchase decision. At the beginning of that funnel, the customer wants to understand brand, context and social presence. At the end of that process – immediately before the purchase decision – the customer wants to understand product detail. The photos that help the customer achieve each of these tasks are usually very different. For brand photos, you first need to have an abundantly clear understanding of what your brand is. Fun lifestyle brands typically use bright colours and light airy photos whereas sophisticated luxury brands may use dark colours or even partial product obfuscation to create the mystique. The subtleties involved here are considerable and should not be underestimated. Warmth versus coolness, curves versus clean lines, natural tones and materials versus artificial ones. Every single aspect of light and shade in your photograph contributes to communicating your brand. Fail to communicate your brand effectively and your potential customers won’t progress through the funnel, so we can’t underestimate the importance of this.

For product detail photos immediately prior to purchase, you want to provide as much as detail as practical with as few distractions. This is where your white or grey background comes in handy. White backgrounds generally provide a more accurate means of assessing product colour, and the colour perception difference between pure white and 5% grey can be substantial.
Frame the Photo.
Don’t wait until you’ve started your product photoshoot to start thinking about how you’d like to frame it. Visualise the product in your head. The angles, the curves, how it looks from different perspectives. What you want to accentuate. If you’re doing a branding photo, think about the elements you want and what they communicate. How will they be arranged and spaced? Ensure the product is larger than other elements to compliment without being distracting. While supporting objects can be disordered, people prefer that the key object has lower entropy – or lower disorder. Warmer colours are generally more appealing and backgrounds and other objects should contrast the product. Having a shallow depth of field (less of the scene in focus) can be slightly upsetting and should be avoided. Finally, social presence – or the inclusion of people or objects to which the customer can relate – provides more comfort. Sketch this out or take some mock-ups on your phone to get a feel for space, colour, shadow, light and texture.

Light is your Friend.
The less lighting you have – and the dimmer that lighting is – the higher the ISO and the lower the shutter speed you need to shoot with – even if this is being managed by your smart phone. This will result in grainier images with less definition, poorer focus and softer edges. While flooding your photo with light is also not the correct approach (this can wash out the image and provide a flat look which fails to pop), it important to use plenty of light in the right way. At its core, photography is about light and shadow and product photography is no exception. Placing your light source directly on or behind the camera will fail to produce any shadows from the perspective of your lens. In most instances, lighting should be placed on such an angle that it provides soft light and avoids harsh shadows while retaining definition and providing information about the shape and contours of the product. This is especially true for the detailed product photos, which – as we said earlier – need to provide a high level of information on quality, materials, shape and contour etc. For brand photos you may want to use shadow to obfuscate part of the product, however this should always be done with an aesthetically appropriate falloff. Like everything, there are instances where rules can be broken to achieve a particular look and feel, but this should be avoided unless you’re quite experienced because effective results can be difficult and frustrating to achieve.

Experiment and get creative.
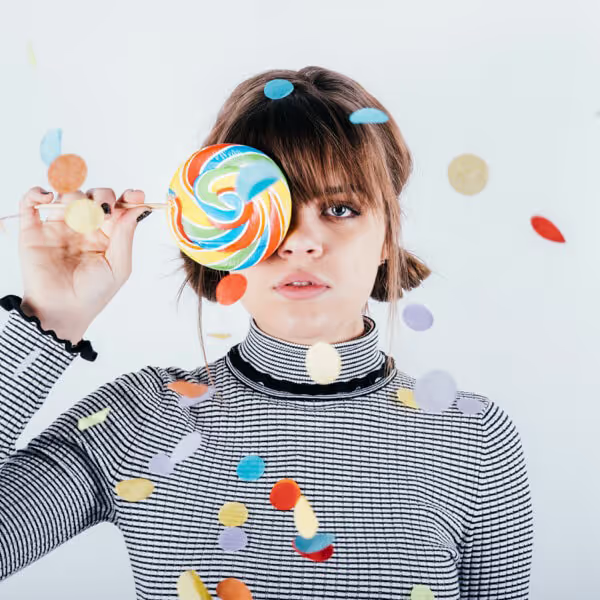
There are so many rules and guides out there these days that we can be in danger of templating our lives. Insta is the Great Example of this – copy the bajeezus out of popular posts and hope to emulate that popularity. The logic is sound, but it leads to a bland, predictable and uninteresting world. Being one of 50,000 perfect photos will stay fail to make your product stand out. You might think that everything that can be done has been done, and you’re possibly right. But what we can tell you is that if you spend your energy trying to emulate what someone else has done, your photo won’t reflect your brand as much as if you have a creative shoot where you have fun. Maybe it won’t come out compositionally perfect, but that can actually be a way to communicate your brand. Some of the best product photos we’re seen have come out of doing silly things during set-up and light-testing and were never intended to get the market. This is not a tip you’re likely to find in many other product photography guides that are focussed on technical composition and lighting, but at LimeHub we’re passionate about the value of brand and communicating your brand personality to your audience. This isn’t limited to businesses with a quirky brand personality either – it can be also be true for those with a more serious and strait-laced brand personality.

If light is your friend, then post-production is your comfortable sweat-pant.
So many tutorials talk about getting the photo right in camera, and maybe there are some photographers that can do this, but they’d be few and far between. There are some products that are near-on impossible to shoot straight out of the camera and require – as a minimum – a composition from a number of shots. Products with significant areas of opacity and/or reflectivity are notable examples, so if your products have any of these characteristics, be prepared to get intimate with Photoshop. While there are a number of post-production applications out there, Photoshop is our absolute favourite and an amazingly powerful tool. While there are certain elements of the photo that you do have to get right in camera, there’s an amazing amount that can be done in Photoshop. From whitening backgrounds to straightening slightly skewed products to compositions of several exposures and luminosity masking, there almost no limit to what can be done. You can maintain the core information that your photo seeks to communicate but completely change the look and feel, mood, tone and emotion (note that these are not references to the inputs of light and colour but to the outputs of the impact on the audience). All that said, use Photoshop appropriately. Avoid over-saturating photos or misrepresenting the product colours. Feel free to add elements in post-production but don’t overdo it to the point of distraction and never ever mess up the scale, depth, lighting or colouring or an object so that it’s obvious it’s been added in post.

So, from the perspective of photography as a tool for marketing, these are the main things we’d recommend you consider. Remember that photography is a marketing tool – it’s there to sell the consistent message of your brand – not to emulate what the rest of Insta or the internet does.If you want to get your products to the next level but don’t have the time, expertise, equipment or software to do it, LimeHub has a specialist product photographer on staff with over ten years of photography and digital editing experience and a dedicated product photography studio and editing suite. Drop us a line if you’d like to hear more about product photography options, and you may be pleasantly surprised to hear that we can deliver great product photos without breaking the bank.

.avif)
.avif)


